Follow these steps to customize the branding for your site's customer ordering portal:
1. Access the NOQ Backend Portal
- Log in to the NOQ Backend Portal.
2. Navigate to Your Site
- Click on the Sites tab.
- Find your site in the list.
- Click Edit to access the site's settings.

3. Open the Branding Section
- In the site editor, select the Branding tab.

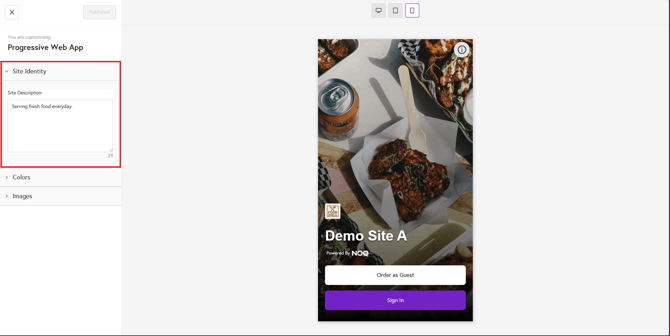
4. Customize Your Branding
In the Branding section, you can:
- Add a description: Enter a short text about your site.
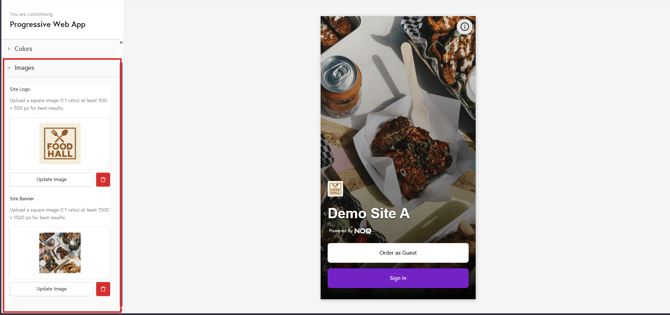
- Upload your logo: Choose an image that represents your site.
- Add a banner image: Upload a banner for the top of your portal.
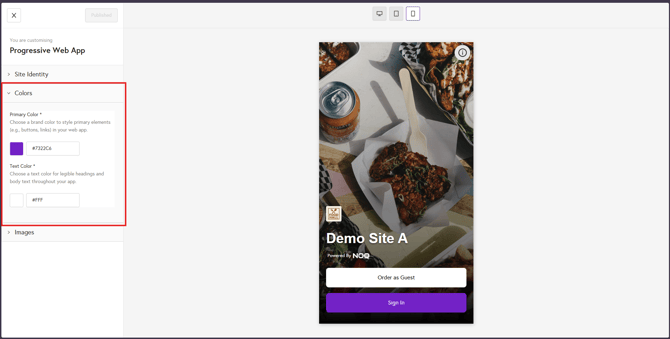
- Customize colors:
- Choose a color to change by selecting the 'Change Color'.
- Set the color for clarity and style. The colors are amended using the panel, or with 'HEX Codes' that can be found here. By copying and pasting the code in the box below the color panel.
5. Preview Your Design
Use the icons shown in the screenshot to preview your web app in different views, such as mobile, tablet, or desktop. Once you’re happy with your branding, click Publish Changes to apply and save your updates.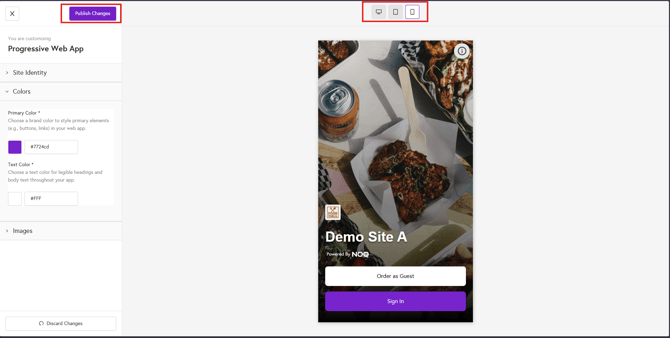
👩💻 Your branding updates will now be visible to customers on the ordering portal. 🤳