
Page Overview:
- Key Features
- How to Create a Functional Setting Profile
- Bulk Activate Functional Settings Profiles (FSP)
- FAQ
Key Features of a Functional Settings Profile (FSP):
- Customisable Device Settings:
- You can configure various operational aspects of devices, such as payment types, checkout procedures, receipt printing, and more. These settings can vary based on the business's needs or the device's role within the operation (e.g., retail vs. restaurant).
- Standardisation Across Devices:
- Once the profile is created, it can be assigned to multiple devices, ensuring that all terminals within a store or site follow the same rules and settings. This avoids the need for manual configuration on each device.
- Quick Profile Changes:
- You can update the Functional Settings Profile and apply changes across all devices in a single action. This is useful for making adjustments without needing to reconfigure every terminal manually.
- Specific to Apps or Interfaces:
- Functional settings profiles can be tailored for different apps or interfaces, such as EPOS or Merch apps, which may require different operational settings.
- Payment Type Control:
- You can define which payment methods (e.g., credit card, mobile payments) are accepted on each device. The profile ensures that only the desired methods are available for use.
- Checkout Customisation:
- Settings related to the checkout process, such as customer-facing prompts, the ability to split payments, or apply discounts, are all handled by the functional settings profile.
What is the default functional setting profile?


How to Create a Functional Setting Profile:
- In the backend portal, go to Device Management > Profiles, then select the Functional Setting Profiles tab.
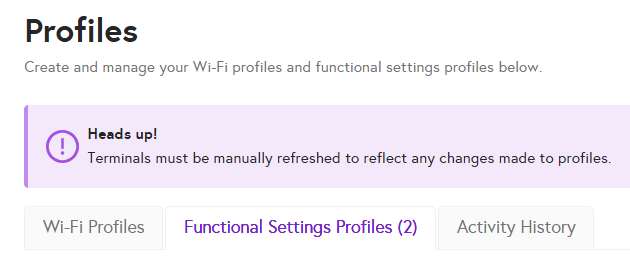
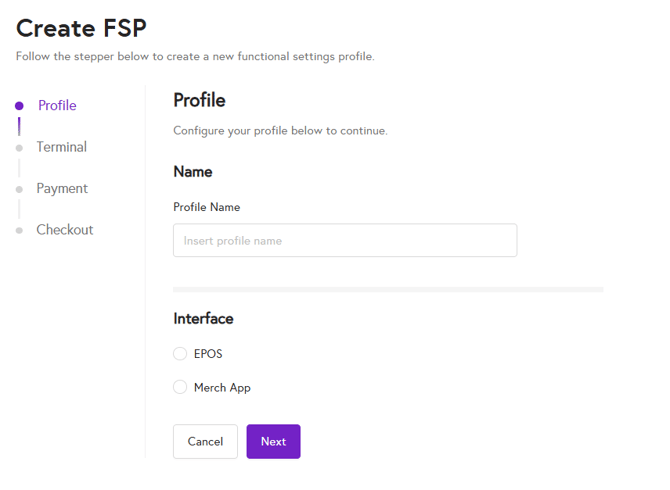
- Click 'Create FSP'.

- Name the Profile, select the interface/app it will be used for, and click Next.
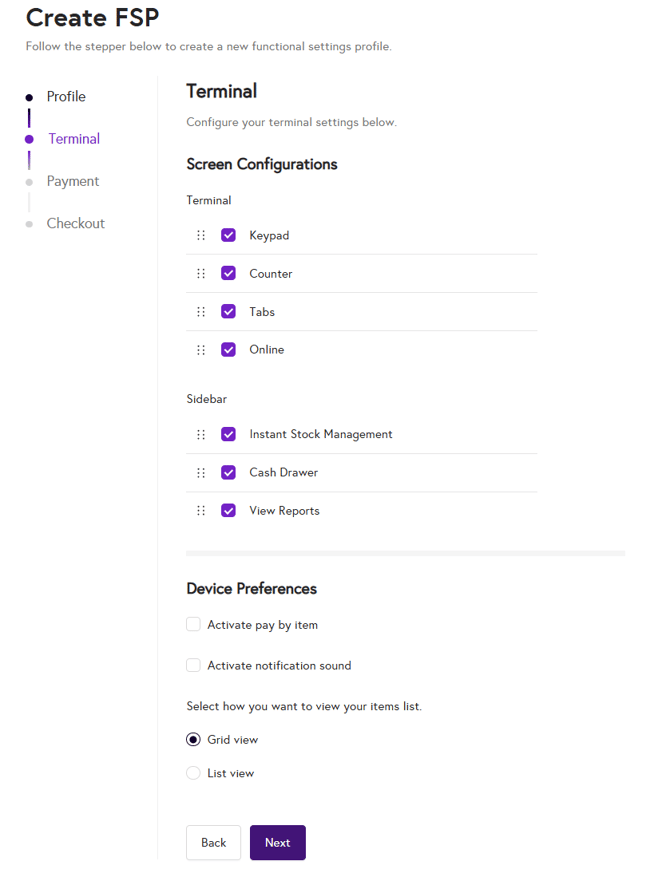
- Configure the terminal options relevant to the profile.
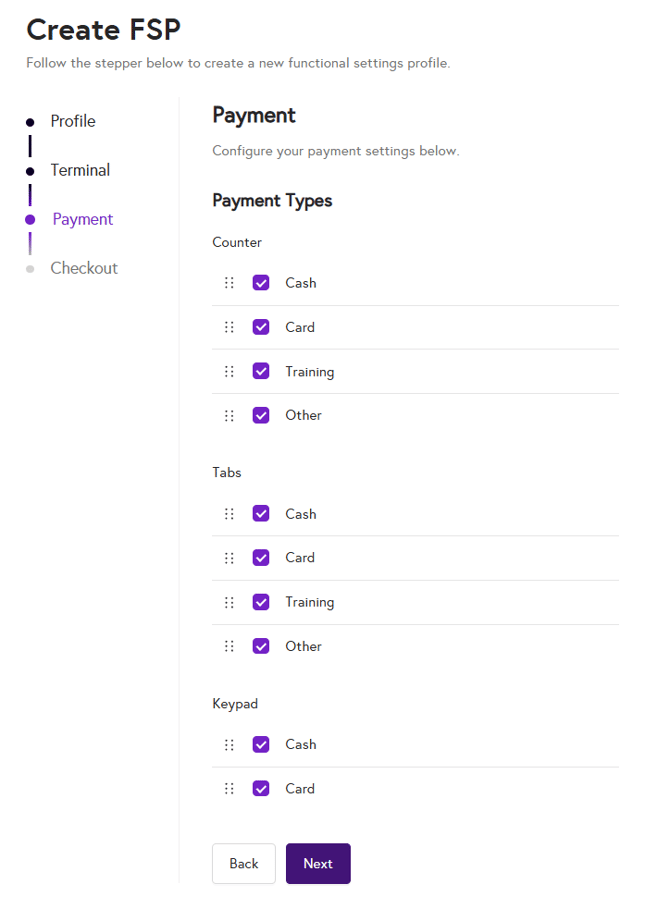
- Set up the payment types...
- Configure checkout options...
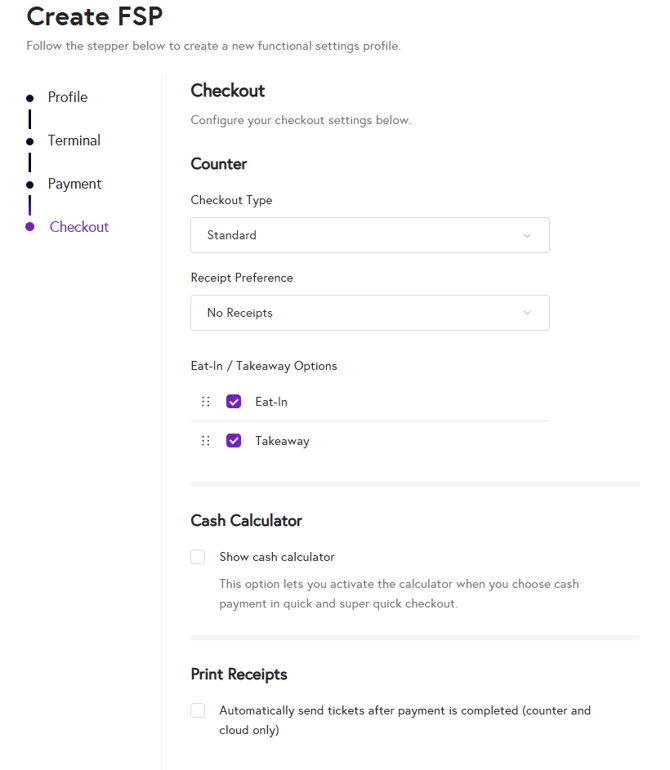
- Click 'Create EPOS/Merch FSP'.
The new Functional Setting Profile will appear in the list. To assign it to a Store:
- Tick the box next to the profile name.
- Click 'Actions' > 'Assign to Store'.
- Select your Store(s).
- Tick the Default box if you wish for this FSP to be the default used for each store.

Note:
Setting a default profile only applies to devices added to the Store after the profile is created. Existing devices must be manually assigned the profile.
How to assign profiles to existing devices:
- Go to Device Management > Devices.
- Find the device and use the dropdown in the EPOS or Merch FSP column to select your profile.

- You can also select multiple devices, then click 'Actions' > 'Edit Default FSP Profile' to configure several devices at once.

Switching Profiles on a Device
How to switch between profiles directly on the device:
- Navigate to Device Settings > Functional Settings (PIN required).
- Select Active Profile to change the profile.
Bulk Activate Functional Settings Profiles (FSP)
The Bulk Activate FSP feature allows users to set an active Functional Settings Profile (FSP) for multiple stores simultaneously. This feature saves time by eliminating the need to manually activate FSPs for each individual device.
When a user bulk-activates an FSP, all devices assigned to the selected stores automatically pick up that active FSP configuration.
Before using Bulk Activate, ensure that:
- All devices are assigned to a store.
- The FSP you wish to activate has already been created in your system.
How to Use Bulk Activate FSP
- Navigate to the Functional Settings Profiles (FSP) page
From the main navigation menu, go to:
Settings → Functional Settings Profiles
- Select the desired FSP
Locate the FSP you want to activate in bulk.
Click the box beside the profile name to view available actions. - Choose “Bulk Activate”
From the action menu, select Bulk Activate.
A side drawer will open on the right-hand side of the screen.
- Select Stores to Apply the FSP
Inside the drawer, you’ll see a list of stores assigned to this FSP.
You can:
Select one or multiple stores, or
Use the “Select All” option to apply the FSP to every store in the list. - Confirm Bulk Activation
Once your selection is complete, click Activate (or Confirm) at the bottom of the drawer.
You’ll receive an on-screen confirmation once the process is complete.
Expected Outcome After activation:
- The selected stores will have the chosen FSP set as Active.
- All devices assigned to those stores will automatically inherit the active FSP settings.
- This ensures consistent configuration across multiple stores and devices in just a few clicks.
Tips & Notes
- You can still manually adjust a device’s FSP individually if needed.
FAQ/Troubleshooting
Why isn’t my functional settings profile working?
If your Functional Settings Profile isn’t working, there could be several reasons. Here are some common issues and troubleshooting steps:
1. Profile Not Set as Default- Problem: The Functional Settings Profile (FSP) may not be set as the default for your store.
- Solution:
- Go to Device Management > Profiles.
- Click Actions > Edit Default FSP Profile.
- Ensure that the correct FSP is selected as the default for the relevant store(s).
- Save the changes.
- Problem: If the FSP was created after devices were already assigned to the store, those devices won’t automatically inherit the new profile.
- Solution:
- Go to Device Management > Devices.
- For each device, manually select the correct FSP in the EPOS FSP or Merch FSP column from the dropdown menu.
- Alternatively, you can select multiple devices, click Actions > Edit Active FSP, and assign the profile to all at once.
- Problem: The terminal may not have received the update with the new Functional Settings Profile.
- Solution:
- On the terminal, go to Settings.
- Select Configuration and enter your PIN.
- Allow the terminal a moment to update its settings. The status should change to “Up to date” when the terminal has successfully applied the profile.
- Problem: There may be an issue with the way the Functional Settings Profile was configured, such as incorrect payment types or checkout settings.
- Solution:
- Review the configuration of the profile under Device Management > Profiles > Functional Settings Profiles.
- Ensure that all settings (payment types, checkout options, etc.) are correctly configured for your business needs.
- Problem: The FSP might not be properly assigned to the correct store.
- Solution:
- Make sure the profile is assigned to the correct store(s) in Device Management > Profiles > Functional Settings Profiles.
- Select the profile, click Actions, and assign it to the store if needed.
- Problem: You may need to switch between profiles on the terminal if multiple profiles exist.
- Solution:
- On the terminal, navigate to Device Settings > Functional Settings (PIN required).
- Select the correct Active Profile from the list.
If these steps don’t solve the problem, it could be a technical issue that requires further assistance from support.