Step 1: Log in to the NOQ Portal
Step 2: Open Export Library
Step 3: Create a Custom Report
Step 4: Select the Report Type
Step 5: Select the Timeframe
Step 6: Select the Store Type
Step 7: Select Stores and Generate the Report
Step 8: Download the Report
- Log in to the NOQ Backend Portal.
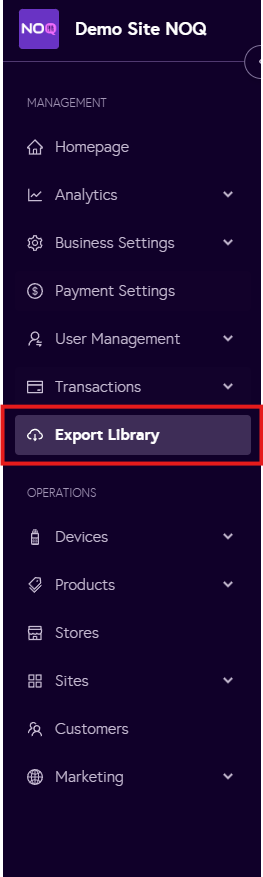
Step 2: Open Export Library
- From the sidebar, navigate to Export Library.
Step 3: Create a Custom Report
- Click + Create Custom Report.

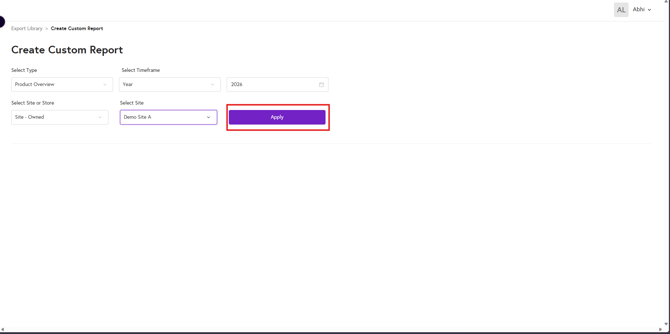
Step 4: Select the Report Type
- From the first dropdown, select the type of report you want to generate.
For example:
- Product Overview
- Sales Overview
The available options may vary depending on your account configuration.
Step 5: Select the Timeframe
- Choose the required timeframe for the report.
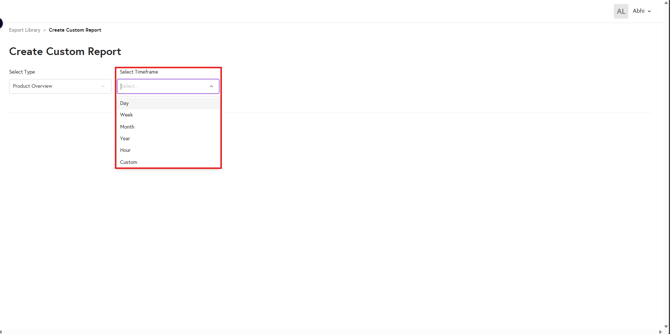
- Depending on the selected timeframe, specify the relevant:
- Day
- Month
- Year
- Date Range

Step 6: Select the Store Type
- Choose the report scope:
- Invited Site
- Own Site
- Independent Store
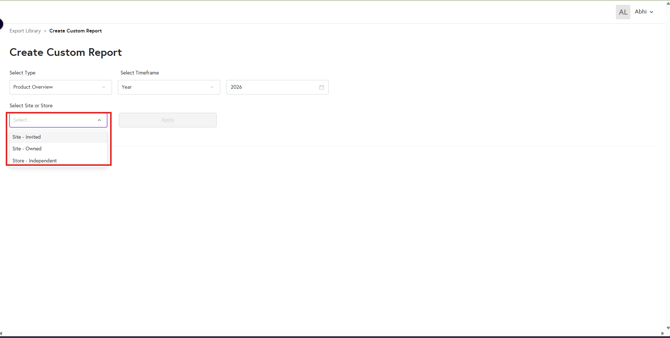
- Select the relevant site or store.
- Click Apply.
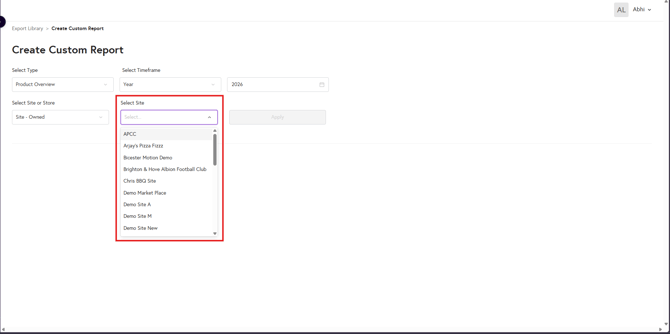
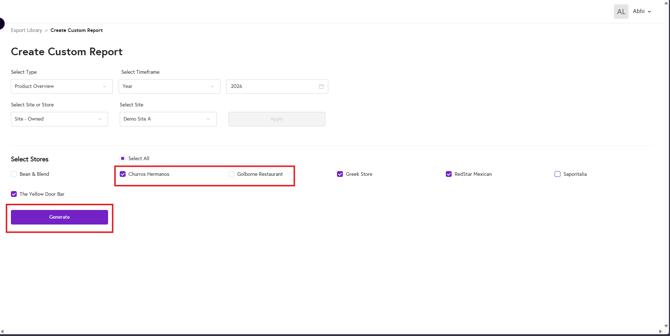
Step 7: Select Stores and Generate the Report
If you selected a site:
- Choose whether to generate the report for:
- All stores within the site, or
- A specific store
- Click Generate.
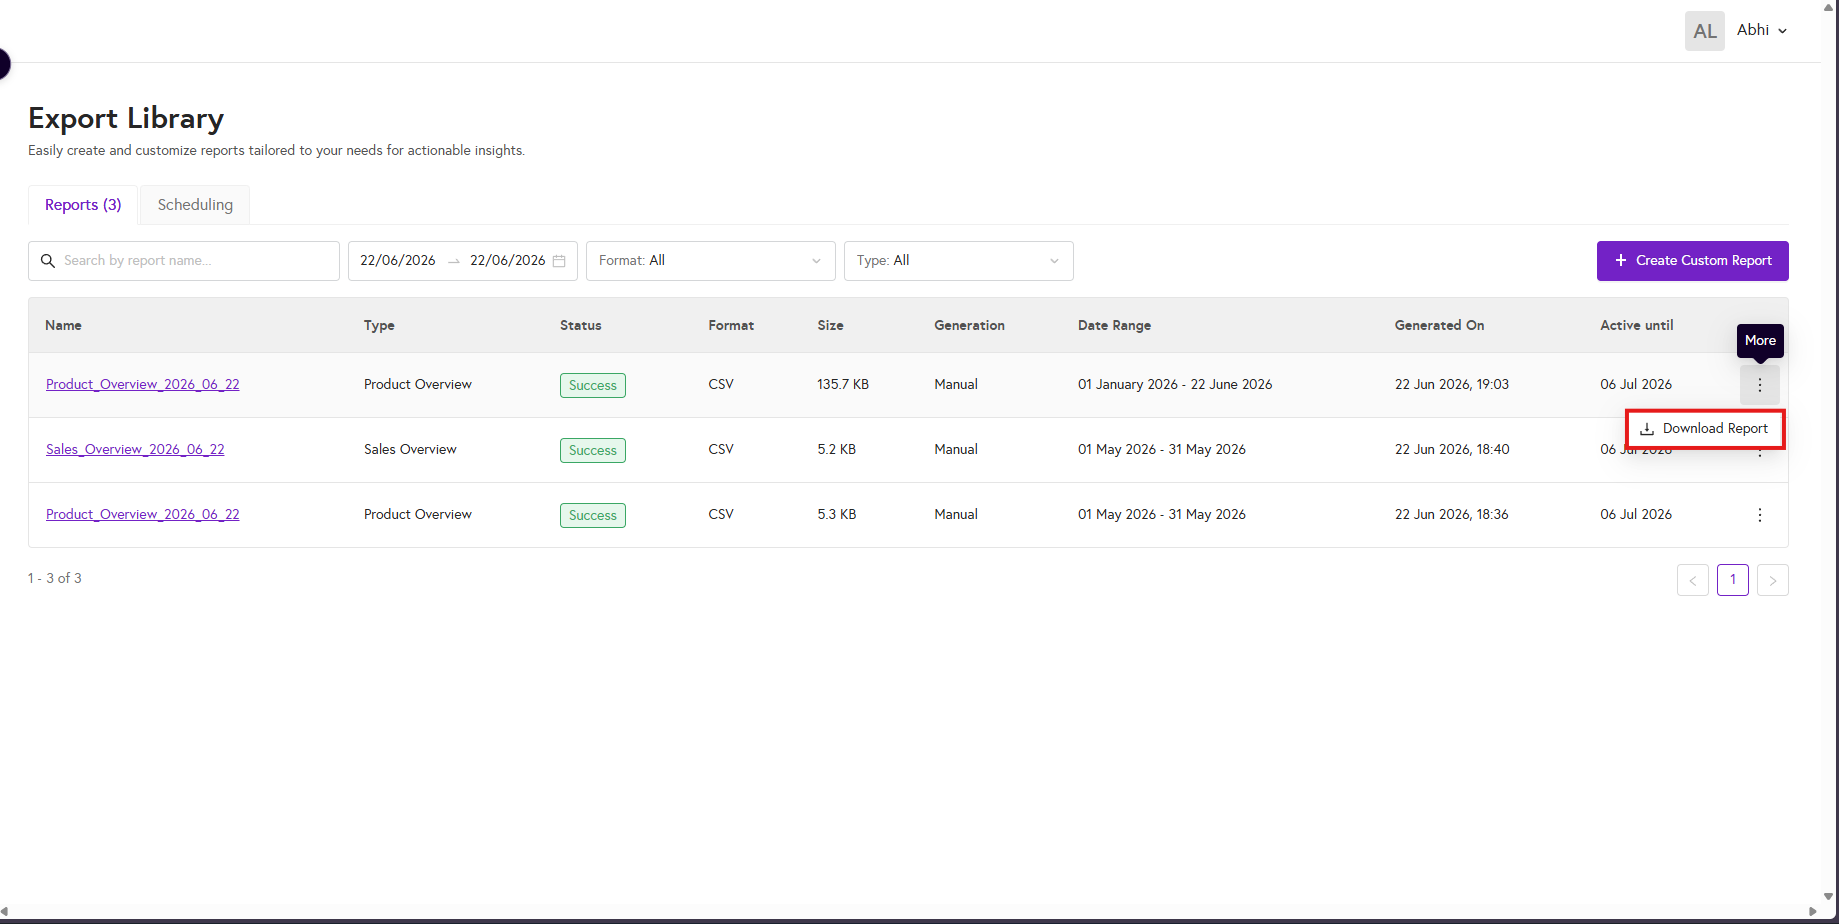
Step 8: Download the Report
- The report will begin generating.
- Depending on the report size and data volume, generation may take some time.
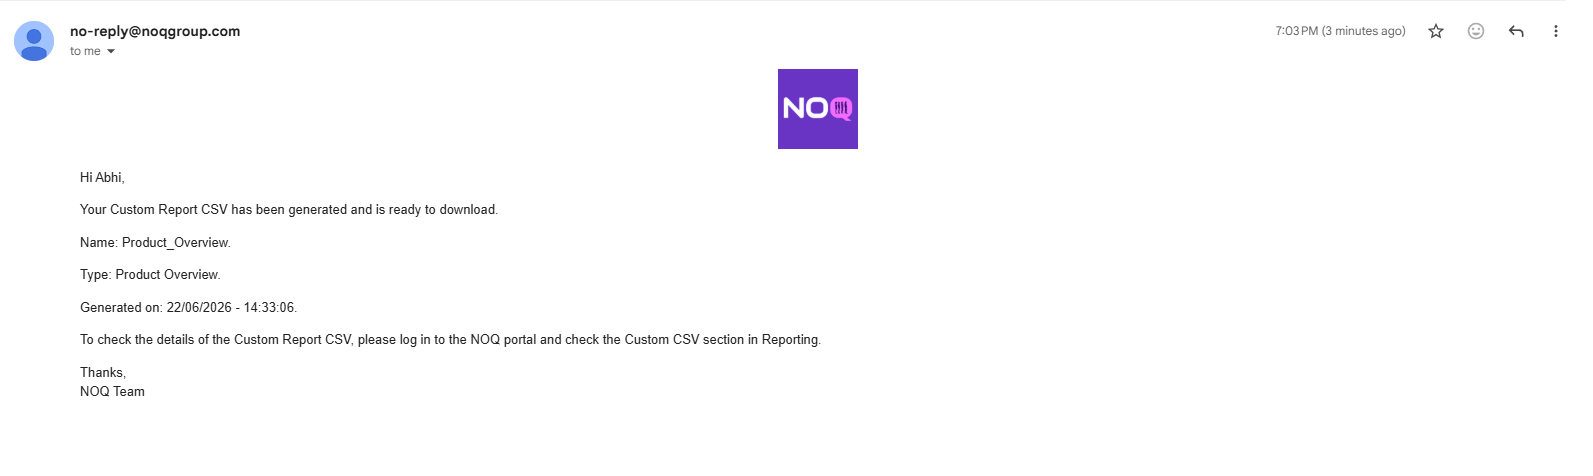
- Once the report is ready, you will receive an email notification confirming that the report has been generated.
- While the report is generating, its status will show as In Progress. When the status changes to Success, the report is ready and can be downloaded.
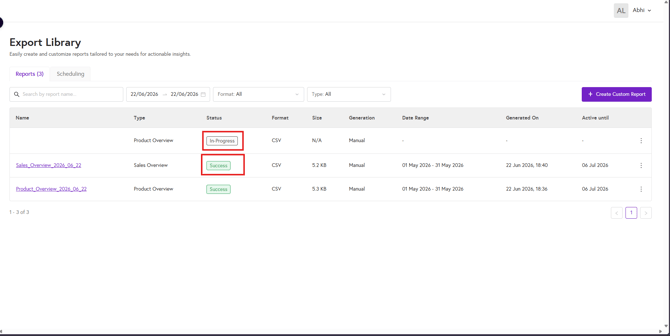
To download the report, either:
- Click the report name and select Download, or
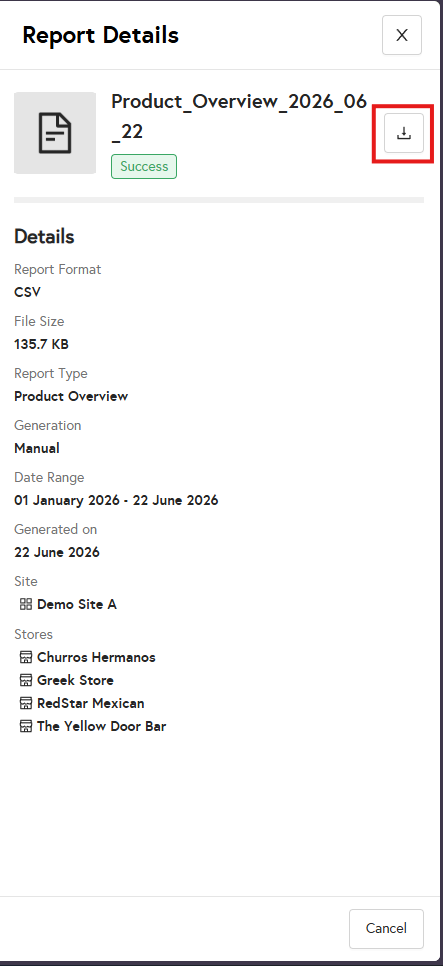
- Click the three dots (⋮) next to the report and select Download Report.
Refresh the page to update the report status from In Progress to Success.