1. Navigate to Merchandise Stock Locations
-
From the main menu, go to Merchandise.
-
Select Stock Locations.
-
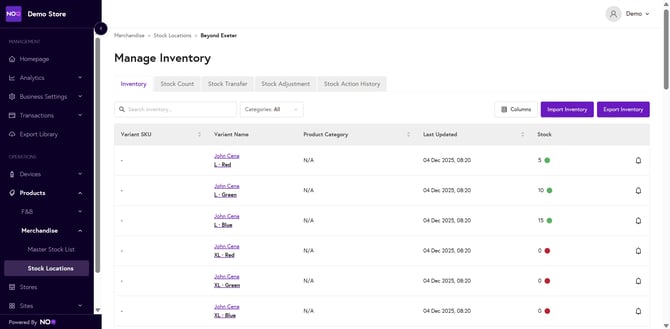
Find the location you want to update and click Manage Inventory.

2. Open the Stock Adjustment Tool
-
In the top menu, click the Stock Adjustment tab.
-
Click Create Stock Adjustment to begin a new inventory update.

3. Enter Adjustment Details
For each product you need to adjust:
-
In the + Add / – Remove column:
-
Enter a positive number to add stock
-
Enter a negative number to remove stock
-
-
Select a Reason from the dropdown (e.g. Wastage, Delivery PO etc.)
-
Repeat for all products that require adjustment.

4. Save and Approve the Adjustment
-
Click Save Stock Adjustment when all edits are complete.
-
After saving, click Review & Approve to finalise the adjustment.
-
Approval ensures the changes are officially applied to the inventory.
-

5. Confirm Inventory Updates
-
Return to the Inventory tab.
-
You will now see the updated stock levels reflected across the system.
Tips & Best Practices
-
Always include an accurate reason for auditing and reporting.
-
Double-check quantities before approving.
-
Use stock adjustments regularly to keep inventory accurate during events or high-volume sales periods.